Ingredients
Equipment
Method
- In a large mixing bowl, stir together the bread flour, instant yeast, and kosher salt.
- Pour in the warm water and mix with a wooden spoon or sturdy spatula until no dry flour remains and the dough is shaggy, wet, and sticky.
- Cover the bowl tightly and let the dough rise at room temperature until doubled and bubbly, about 2 to 3 hours.
- For deeper flavor, refrigerate the risen dough for at least 8 hours or up to 3 days, then let it sit out while the oven preheats.
- About 30 minutes before baking, place a Dutch oven with its lid in the oven and preheat to 450 degrees Fahrenheit.
- Scrape the dough onto a lightly floured surface and dust the top lightly with flour.
- Using a bench scraper or spatula, fold the edges inward several times to create a rough round shape.
- Turn the shaped dough seam-side down onto parchment paper and gently nudge it into a centered round.
- Carefully lift the dough by the parchment paper and lower it into the hot Dutch oven.
- Cover and bake for 30 minutes.
- Remove the lid and bake for another 10 to 15 minutes until the bread is deeply golden brown.
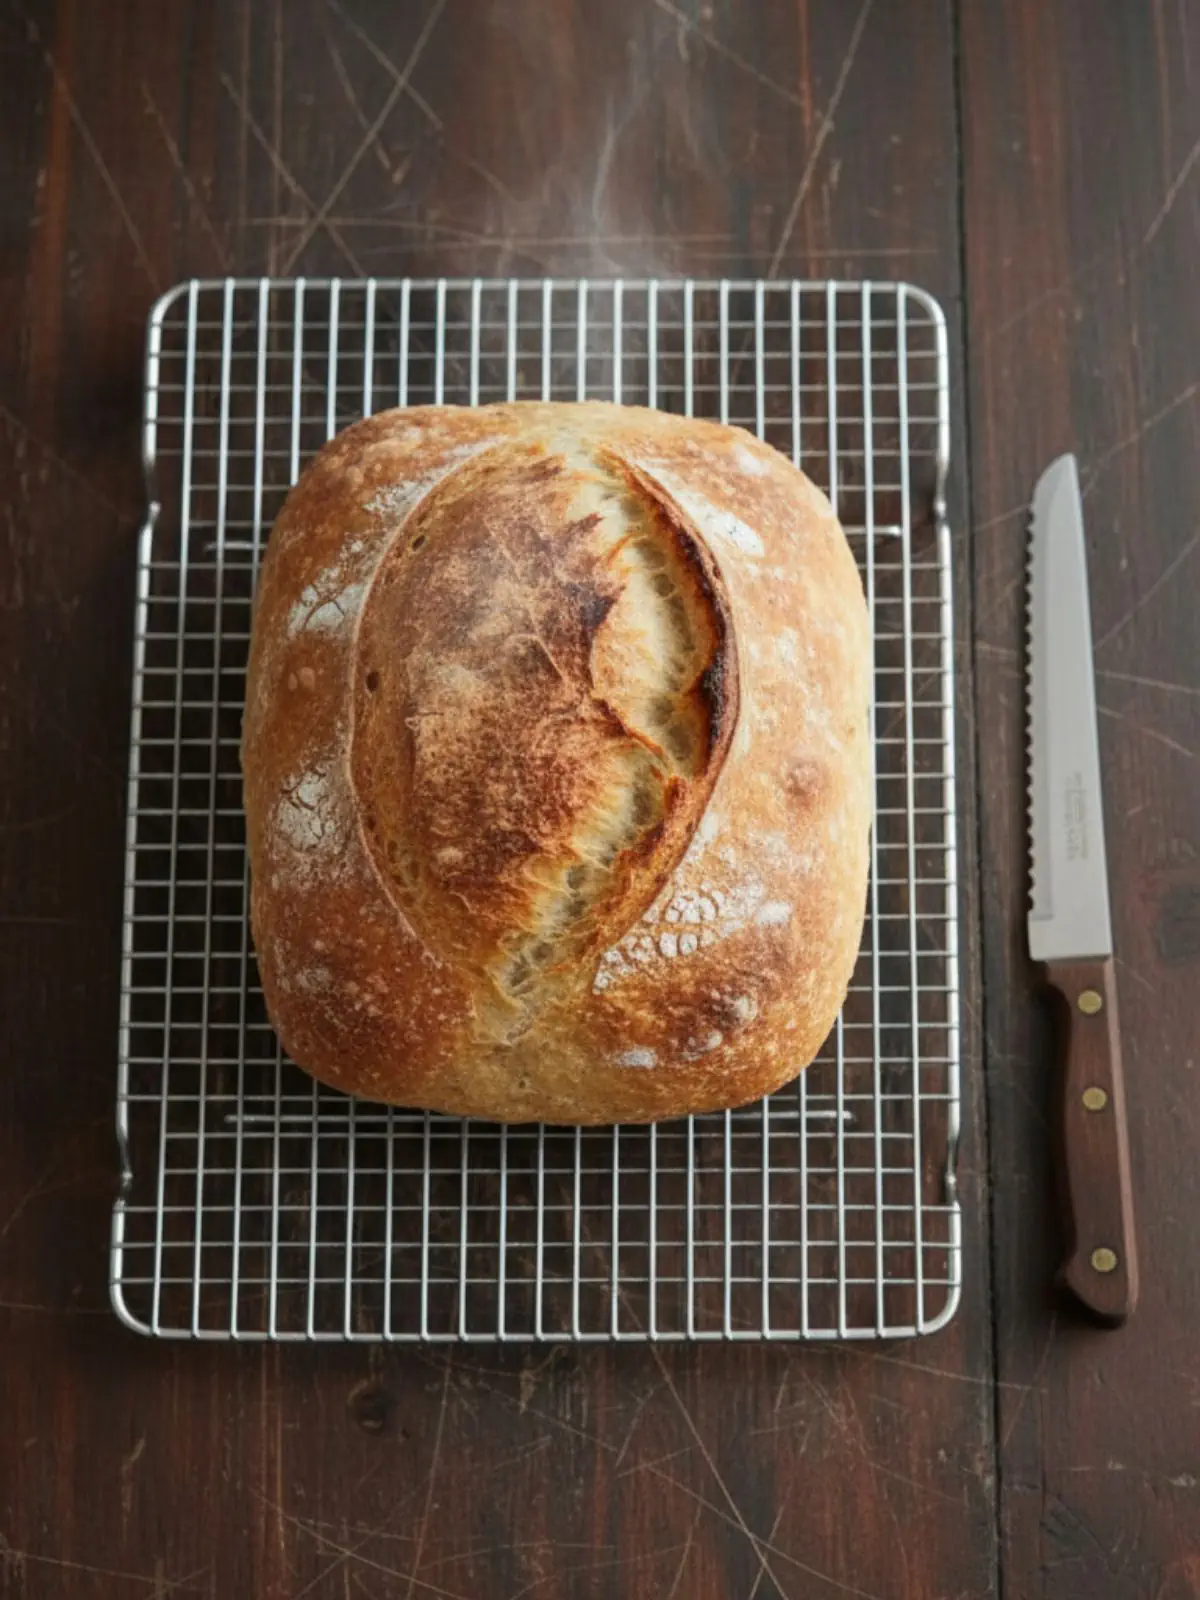
- Transfer the loaf to a cooling rack and let it cool for at least 10 minutes before slicing.
Notes
- The dough should be wet and sticky, not firm like traditional kneaded bread dough.
- Bread flour gives the loaf better chew and structure, but all-purpose flour can still work if needed.
- Do not add too much extra flour during shaping or the loaf may turn dense instead of airy.
- A long rest improves flavor, so refrigerating the dough overnight can produce a more developed taste.
- Make sure the Dutch oven is fully preheated for strong oven spring and better crust formation.
- If your kitchen is cool, the dough may need a little longer to double and become bubbly.
- The loaf is done when the crust is deeply golden and the bottom sounds hollow when tapped.
- For best texture, wait the full cooling time before slicing so the crumb can finish setting.
- Store the bread at room temperature in a paper bag or loosely wrapped towel the first day for the best crust.
- After the first day, keep leftovers in an airtight container or zip-top bag to prevent drying out.
- Refresh day-old bread in a hot oven for a few minutes to bring back some crust and warmth.
- Slice and freeze the bread for easier thawing and quick toasting later.
- Avoid refrigerating the baked loaf because it can make bread stale faster.
- If the dough seems dry during mixing, add a small splash of water to maintain the proper sticky consistency.
- If the dough looks too loose like batter, add only a light dusting of flour until it becomes thick but still sticky.